 Rush Delivery: As soon as July 14

Key Takeaways
|
You’ve got the perfect design. It’s bold, artistic, maybe even a little edgy. But here’s the truth:
Even the most brilliant artwork can look dull if it’s printed in the wrong place.
Too high, and it looks awkward. Too low, and it disappears. Misplaced designs don’t just waste fabric—they waste potential.
You need to understand the print areas, sizes, and placement when –
- Launching a clothing brand,
- Printing for an event, or
- Selling online.
It’s not just a technical detail but a creative decision that defines how your product is seen, worn, and remembered.
Let’s know the essentials of print dimensions, placements, and the design rules that professionals swear by.
What Is a Print Area?

When it comes to custom apparel, you want your design to look its best and be eye-catching. It lives within a specific space called the print area.
Think of it as your canvas. Now, no matter how adventurous and simple your artwork is, it should work within that defined zone.
So, what exactly is a print area?
A print area is the maximum space a printer can use to apply a design onto a garment. Those include a T-shirt, hoodie, or tote bag.
It’s typically defined in inches or centimeters. But, varies depending on the garment type, size, and printing method.
Here’s why it matters:
- Design Fit: A design that’s too large can get cropped. Too small, and it might look lost or invisible from a distance.
- Print Quality: If you are resizing or stretching designs to fit outside the area, it can lead to poor print quality.
Placement Accuracy: You need to know your print area, as it helps you position your design where it looks best. It should be centered, aligned, and balanced.
What To Know About Common Print Area Placements?
It varies depending on the provider and product. Here are typical front and back print areas for adult T-shirts:
Sr.No. | Placement | Print Area | Best For | Tips / Notes |
1 | Full Front (Center Chest) | ~12″ x 16″ | Logos, large graphics, slogans, brand statements | Start design ~2–3″ below the collar. |
2 | Left Chest (Pocket Area) | ~4″ x 4″ | Brand logos, icons, initials | Pair with a full-back design. |
3 | Full Back | ~12″ x 16″ | Event shirts, illustrations, tour dates | Begin ~3–4″ below the neckline |
4 | Sleeve (Left or Right) | ~3″ x 3″ | Logos, QR codes, niche messages | Great for –
|
5 | Nape (Back Neck) | ~3″ x 3″ | Brand marks, size tags, hidden messaging | Adds a premium touch. |
6 | Side Print / Wrap-Around | Varies by printer | Artistic prints, abstract graphics, fashion pieces | Bold and eye-catching. |
How Does Shirt Size Impact Design Size?
You need to know that one size doesn’t fit everyone when it comes to designing a T-shirt. Well, here even your artwork is not gonna work.
If you are placing a 12″ wide design on an XS, it could make the t-shirt look odd. However, that same graphic can go well on your medium-sized t-shirt.
Same way, on a 2XL, it may look oddly small and uncomfortable.
It is where many designs fall short. The reason is due to improper scaling across different shirt sizes.
If you want to keep your designs looking clean and attractive on every garment, here’s a simple guide to follow:
Shirt Size | Recommended Max Design Width |
XS–S | 9″ – 10″ |
M–L | 10″ – 11″ |
XL–2XL | 11″ – 12″+ |
Rule of Thumb:
Your design should fill about 60–70% of the shirt’s width.
It gives your design some space to breathe. However, it still maintains a strong presence on the garment. Further, it prevents the common mistake of overprinting on small shirts or underprinting on large ones.
Pro Tip: If you’re using a print-on-demand (POD) service, most platforms apply one standard design size across all garments. If you want to ensure consistency, preview mockups across sizes. Or, you can upload multiple design files tailored to different size ranges if your platform allows. |
How Does the Print Method Affect the Design Size?
When you’re designing any custom apparel, it’s easy to judge the shirt’s appearance depending on how the design looks. But how it gets printed plays a huge role in what’s actually possible.
Different printing methods have different –
- technical limitations,
- maximum printable areas, and
- material compatibilities.
You need to choose the right one that can affect the quality. Further, it can affect the size, placement, and even scalability of your design across products.
Let’s break down how each method stacks up when it comes to design size flexibility:
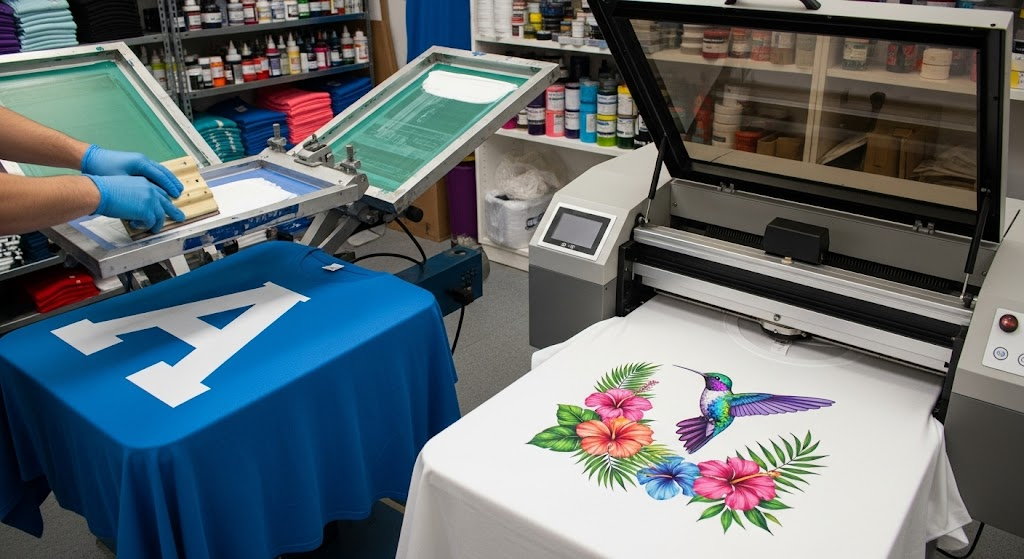
DTG (Direct-to-Garment)
|
DTG is the most common method used by print-on-demand services. It works like a giant inkjet printer for garments. It involves spraying water-based ink directly onto the fabric.
Size Limitations:
- Most DTG printers have a maximum print area of 12″ x 16″.
- You can’t go edge-to-edge or print on seams.
- It’s consistent and crisp. But it’s not scalable for larger, all-over prints.
Design Tip:
You can use DTG for mid-sized design. Those need to be centered on the front or back. Make sure to avoid edge-heavy or wrap designs, as these will fall outside the print area.
Screen Printing
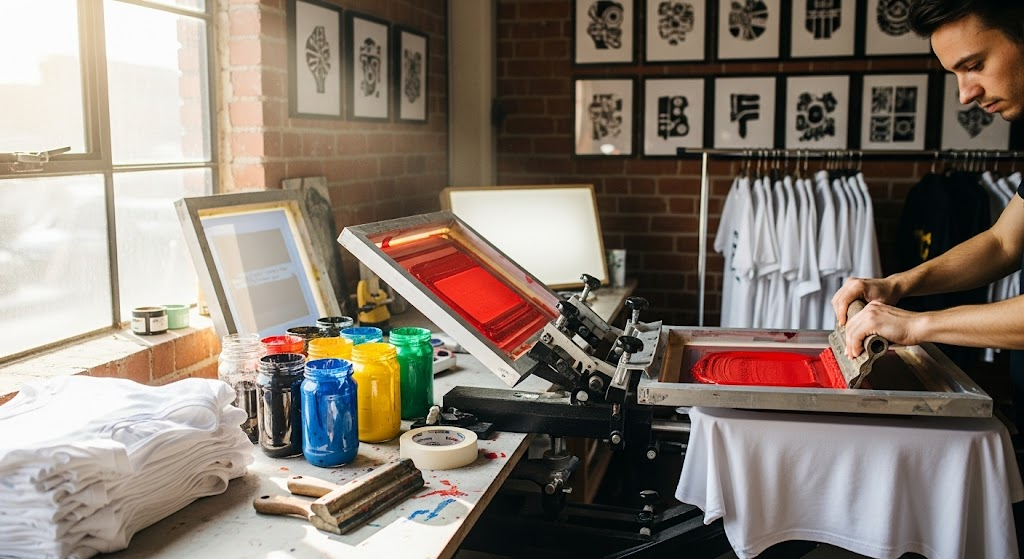
|
Screen printing is a traditional method. The ink is pushed through mesh screens onto fabric. It’s ideal for bulk orders due to cost-efficiency.
Size Considerations:
- It can handle larger prints than DTG. Well, it depends on the equipment.
- Each size variation (XS–2XL) might need different screen sizes for perfect proportions.
- Multi-size orders usually need a compromise on artwork scaling.
Design Tip:
Standardize your artwork for average sizes (M–L). It can minimize distortion across a size range. Screen printing shines with bold, simplified graphics.
Sublimation Printing
|
Sublimation uses heat to fuse ink directly into polyester fabric. It allows vibrant, seamless prints that cover the entire surface of a garment.
Size Advantages:
- There is no size limit—as long as it fits the sublimation press and template.
- Ideal for wrap-around and artistic designs.
- Only works on 100% polyester or poly-coated substrates.
Design Tip:
Think big. Use sublimation for bold, artistic pieces or garments where the print is part of the entire fabric. Just make sure to use the correct file templates.
DTF (Direct to Film)
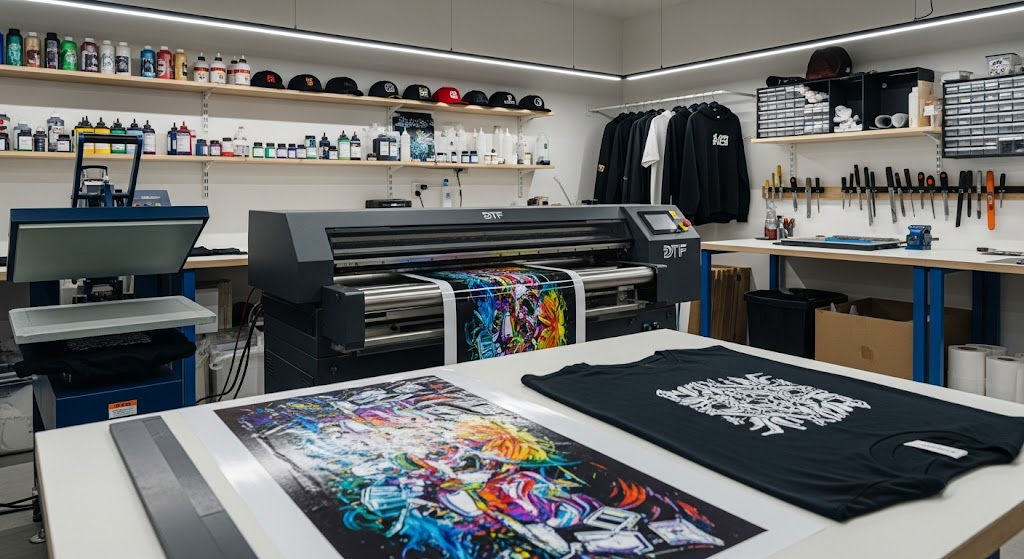
|
DTF printing involves printing your design onto a film. Then heat-press it onto the garment. It’s incredibly versatile and works on cotton, blends, polyester, and more.
Size Flexibility:
- It is more flexible than DTG. It works well with larger film sheets or rolls for bigger designs.
- It is better suited for small designs with fine details and color gradients.
- It works well on odd placements—sleeves, pockets, hats.
Design Tip:
You can use DTF for detailed logos, sleeve prints, or when working with mixed materials. Check your provider’s sheet size before finalizing artwork.
To Sum Up…
Well, it’s about where and how you place it. Your design holds secondary importance.
When printing for your brand or a custom order, you need to think of the –
- print areas,
- sizing, and
- Placement.
These can turn a good shirt into a wearable statement. Every inch matters, and how a design looks on that apparel matters too.
You need to know the right print methods and avoid common mistakes. These can help you create apparel that looks great and feels professional.
Frequently Asked Questions
Q1: What’s the standard print area for a T-shirt?
The standard print area for most adult T-shirts is approximately 12″ x 16″ for the front and back. However, it can vary depending on the print provider and method.
Q2: Can you use the same design size for all T-shirt sizes?
Yes. However, it’s not recommended. A design that looks perfect on a Medium might look oversized on an XS or too small on a 2XL.
Q3: How far from the collar should you place your design?
Start about 2 to 3 inches below the neckline for full-front designs. Begin 3 to 4 inches down from the collar for back prints.
Q4: What’s the ideal design size for kids’ T-shirts?
Keep designs between 6″ and 8″ wide for toddlers. 8″ to 10″ is usually ideal for youth sizes.